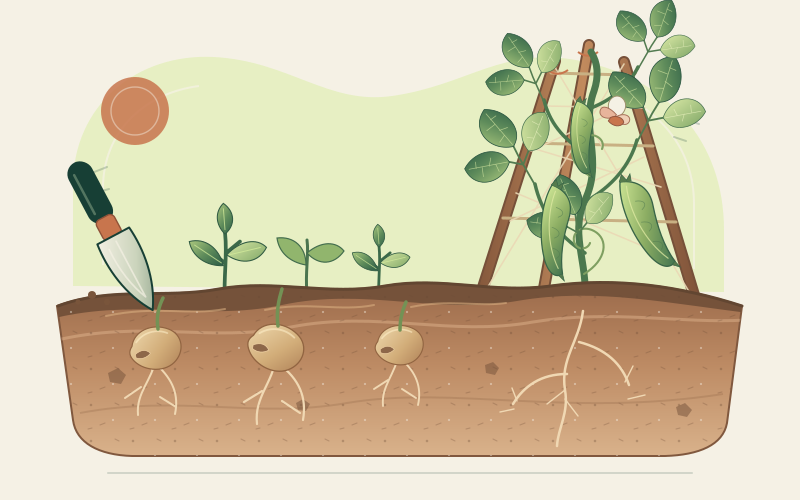
One species, several crops
This guide concerns the common bean, Phaseolus vulgaris. It includes compact bush beans and twining pole beans, with pods gathered young as snap beans or seeds gathered mature as dry beans. Some cultivars suit both uses. Bush plants usually crop over a shorter window and need little or no support; pole plants take longer to establish but can keep producing when picked often. Neither habit determines whether a bean must be eaten fresh or dried.
Runner beans, limas, favas, soybeans, and cowpeas follow different growing requirements and are not covered here. Check the botanical name on the packet rather than relying on “climbing bean” or “white bean” alone. Our bean types guide untangles the labels.
Sowing and care through the season
-
Wait for warmth and workable soil
Common beans are frost-tender and their large seeds can rot in cold, saturated ground. Direct sow after local frost danger has passed, when the soil has warmed and can be crumbled without smearing into sticky clods. A sheltered, sunny site with free drainage gives the best start. Do not be rushed by a warm afternoon if cold, wet weather is forecast.
-
Prepare without overfeeding
Remove weeds and loosen compacted soil without working it while wet. A soil test is the soundest guide to pH and nutrients; mature compost can improve soil structure where needed. Avoid heavy nitrogen fertiliser and fresh, rich manure. Excess nitrogen can favour leafy growth at the expense of flowers and pods, while legumes may meet part of their nitrogen needs through root-nodule bacteria.
-
Sow at the packet’s depth and spacing
As a general starting point, sow common beans around 3–5 cm deep. Bush types are often spaced roughly 10–15 cm apart in rows or blocks, with wider access between rows; pole types can be sown at the base of individual supports. Seed size, cultivar, climate, and soil vary, so the supplier’s instructions take priority. Water gently after sowing and keep the bed moist, not saturated, during emergence.
-
Put pole supports up first
Install a strong wigwam, trellis, netting, or paired canes before sowing so roots are not disturbed later. Allow enough height for the named cultivar and anchor the structure against summer wind. Guide young shoots towards a support if necessary; mature stems twine for themselves. Bush beans may appreciate a few twiggy branches to keep pods off wet soil, but should not need a tall frame.
-
Consider inoculant as a tool, not a charm
Compatible rhizobia living in root nodules can convert atmospheric nitrogen into forms the plant can use. Suitable bacteria may already be present where common beans have grown well. A fresh, bean-compatible inoculant can be worth considering on ground new to this crop or after poor nodulation, but it does not guarantee higher yield or replace sound soil and watering. Follow its storage and application directions, use it at sowing, and never substitute an inoculant intended for a different legume.
-
Water for flowers and pods
Check moisture below the surface and water deeply when needed rather than keeping a fixed calendar. Steady moisture matters especially during flowering and pod development; severe drying can contribute to flower or young-pod loss. Direct water to the soil, avoid waterlogging, and mulch once the ground is warm to reduce evaporation and weeds. Containers need more frequent checks. For dry beans, avoid unnecessary late watering that keeps mature plants and pods lush.
-
Rotate and observe
Where space permits, avoid growing beans or closely related legumes in the same bed every year; a gap of several years can help reduce some soil-borne and residue-borne problems. Rotation cannot prevent wind-blown spores or every pest, and its benefit depends on the organism involved. Keep notes on the bed, cultivar, weather, and symptoms so next year’s choice rests on evidence rather than routine.
Prevent pests and diseases before treating symptoms
Start with reputable, healthy seed and locally suitable resistant cultivars where available. Space plants for air movement, control weeds, clear badly infected crop residue, and avoid handling foliage while it is wet. Slugs may attack seedlings; aphids gather on tender growth; beetles and caterpillars chew leaves or pods in some regions. Inspect leaf undersides and growing tips regularly. Hand removal, a firm water spray for small aphid colonies, barriers where appropriate, and encouragement of natural enemies are proportionate first responses.
Rust, anthracnose, bacterial diseases, and viruses can produce overlapping spots, yellowing, distortion, or poor growth. Do not diagnose from colour alone. Keep seed from unhealthy plants out of next year’s sowing, avoid spreading soil or sap on tools and hands, and ask local extension for identification when damage spreads or plants collapse. Remove plant material when local guidance recommends it, and never assume every home compost heap will destroy pathogens. If a pesticide is legally available and justified, the product label must match the crop, pest, and place of use; follow local advice rather than improvised recipes or doses.
Harvest for the meal, then store carefully
Pick snap beans while pods are crisp and before the seeds form obvious lumps; harvest frequently to encourage further flowering in cultivars that keep setting pods. Shelling beans are gathered when seeds are full-sized but still fresh and tender. For dry beans, leave seeds to mature fully. Pods become leathery and then dry and brittle; aim to bring them in before prolonged rain or frost spoils them.
| Harvest | Ready when | Next step |
|---|---|---|
| Snap | Young pod snaps cleanly; seeds remain small | Use fresh or preserve promptly |
| Fresh shelling | Seeds fill the pod but remain tender | Shell, refrigerate, and cook soon |
| Dry | Seeds are mature and pods are dry and brittle | Shell, finish drying, inspect, and seal |
If wet weather interrupts drying, lift or pick mature pods and spread them in a single layer under cover with good airflow. Shell when the pods open readily, then continue drying the seeds on trays until they are hard and no longer feel cool or damp. Discard mouldy, abnormally discoloured, insect-damaged, or doubtful seeds rather than mixing them into a jar. Store thoroughly dry food beans in clean airtight containers in a cool, dark, dry place; label the cultivar and year and inspect periodically for moisture or insects.
Drying and storage are not cooking. Home-grown dry kidney and other common beans still need thorough preparation before eating; see the safe dried-bean method, particularly for red kidney beans.
Sources and further guidance
- University of Minnesota Extension: Growing beans in home gardens
- Royal Horticultural Society: How to grow French beans
- Royal Horticultural Society: How to grow beans for drying
- Utah State University Extension: How to grow beans in your garden
- Penn State Extension: Snap beans in the garden and the kitchen