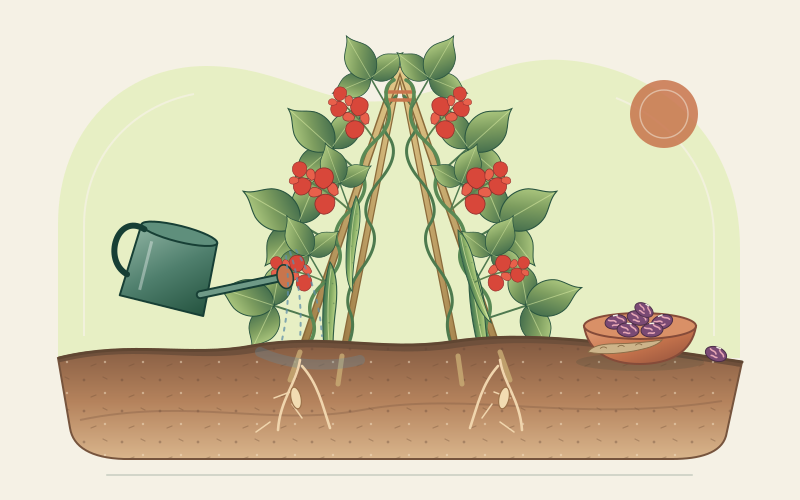
Know the runner bean before sowing
This guide concerns runner bean, Phaseolus coccineus. It is closely related to common bean, P. vulgaris, but is not the same species. Most garden runner beans are vigorous indeterminate climbers with trifoliate leaves, elongated clusters of scarlet, pink, white or bicoloured flowers and long, flattened pods. Dwarf cultivars exist, but “runner” does not guarantee a particular pod quality or harvest use.
Runner bean is a tuberous-rooted perennial where cold and other conditions permit, yet in temperate gardens it is normally sown and cleared as a frost-tender annual. A surviving root can resprout in a suitable frost-free climate, but this is not a reason to leave roots in cold, wet ground or to eat them. This guide covers pods and seeds, not root consumption.
Flowering often begins around 40–60 days after sowing. Green-pod harvest commonly starts at roughly three months, while mature seed can take four to five months. Early or dwarf cultivars may be faster. In the crop profile this becomes a practical 60–150 day range: about 60–100 days to first snap pods under favourable conditions and around 120–150 days to mature dry seed.
Support and sowing are one job
-
Choose a sheltered, sunny site
Runner beans need sun, but shelter from destructive wind matters for a tall, leaf-heavy frame. Prepare deep, fertile, moisture-retentive soil that still drains freely. Mature compost improves structure; avoid waterlogged ground and routine high-nitrogen feeding that encourages foliage without guaranteeing pods. A soil test and local advice take priority over a generic fertiliser prescription.
-
Build for the mature load
Install supports before sowing or planting so later construction does not damage roots. A traditional double row or A-frame uses canes or poles about 2–2.5 m tall, tied to a horizontal ridge. A wigwam, X-frame, trellis or well-tensioned netting also works. Space supports and plants according to the packet; the RHS uses canes roughly 15–30 cm apart and one established plant per cane.
Anchor every leg, brace the structure against local wind and use sound poles and ties. Do not climb an unstable frame to reach pods. When stems pass the top, pinch out the growing tips to encourage lower side growth and reduce top-heaviness. Dwarf types need only short twiggy supports to hold pods above wet soil.
-
Wait for frost-safe, warmed soil
Direct-sow after local frost danger when soil has reached about 12°C and is workable. Sow about 5 cm deep, water gently and protect seedlings from slugs where these are a local problem. Cold, saturated soil delays germination and can rot the large seeds. A warm afternoon is not enough if a cold, wet week is forecast.
-
Use an early start without a hard transplant shock
For an earlier crop or unreliable outdoor emergence, sow one seed per deep pot around mid-spring. Runner seedlings grow quickly, so do not start so early that they become root-bound indoors. Harden plants off gradually and transplant after frost with the root ball intact. Direct sowing remains a sound choice where soil and season allow.
Warm flowers are not enough: manage moisture and heat
Runner beans are thirsty during flowering and pod development. Check below the surface and water deeply when needed rather than following a rigid timetable. Direct water to the soil, avoid saturation and apply an organic mulch once plants and soil are warm. Containers dry rapidly and require more frequent checks. Good pod quality depends on steady growth, not a cycle of shrivelling drought followed by flooding.
Excess heat can hinder pod set. Plants may produce many flowers yet drop them or form few pods, especially when heat combines with dry air or root stress. More nitrogen will not correct weather. Use locally adapted cultivars, maintain root moisture and, in heat-prone gardens, consider a site with gentler afternoon exposure. Some cultivars with common-bean parentage are offered for improved warm-weather setting; read the actual description rather than treating that ancestry as a guarantee.
Runner beans are predominantly cross-pollinated and bees help trip the flowers. Avoid insecticide use on open blooms and follow local label law for any pest decision. Early flowers sometimes fail even in favourable gardens, so observe whether later pods form before intervening. Regular picking of young pods also encourages continued flowering in a snap crop.
Guide growth and prevent avoidable problems
Help a young shoot reach its support if necessary; runner stems twine as they grow. Keep the base weeded with shallow cultivation, taking care not to cut roots. Rotate away from recent bean beds where local soil-borne disease advice recommends it. Remove badly infected residue only according to local disease guidance, and do not assume a cool home compost heap will destroy every pathogen.
Inspect seedlings for slug damage, growing tips for black bean aphids and leaves for local fungal, bacterial or viral symptoms. Rust, halo blight and other diseases cannot be diagnosed reliably from one colour change. Seek extension or local agricultural identification for spreading or severe problems. A pesticide, if legal and justified, must have a label matching the crop, pest and place; improvised mixtures and doses are not a substitute.
Harvest by pod condition, then store by harvest type
| Harvest | Ready when | Handling |
|---|---|---|
| Snap pods | Young pod snaps cleanly; seeds remain small and pale | Pick every few days, refrigerate promptly and cook |
| Fresh shelling | Seeds fill the pod but remain fresh and tender | Shell, refrigerate and cook thoroughly soon |
| Dry seed | Seeds are mature and pods become dry and brittle | Shell, clean, finish drying and store cool and dry |
For snap beans, pick while the whole pod is tender and before seeds make obvious lumps. Many cultivars are ready around 20–25 cm long, but pod shape and supplier guidance vary. Harvest every two to three days in active weather. Leaving pods to mature signals the plant to stop producing more flowers, so designate separate plants or late pods if both kitchen pods and seed are wanted.
For dry seed, leave pods until mature and as dry as local weather safely permits. Uneven ripening may require several picks. If persistent rain or frost threatens, bring mature pods or uprooted plants under dry, ventilated cover. Spread material thinly rather than heaping it damp. Shell when pods open readily, remove debris and damaged seed, and continue drying until the seeds are demonstrably suitable for the intended storage period.
Store only clean, fully dry, sound food seed in food-safe containers in a cool, dark, dry place. Label cultivar and year, and inspect for condensation, insects, odour or mould. Discard mouldy or doubtful lots rather than sorting a few attractive seeds into food. Keep planting seed separate from the cooking jar if that helps your record-keeping.
Drying is not cooking. Young pods should be cooked. Mature runner seeds contain antinutritional factors and must not be eaten raw or undercooked. For a cautious home method, sort, rinse and soak dry beans for at least five hours, drain and rinse, then boil rapidly in fresh water for at least 30 minutes before simmering until fully tender. This follows the FDA’s general phytohaemagglutinin precaution for beans; do not use soaking, gentle warming or a slow-cooker-only method as an equivalent. See the full preparation notes.
Sources and further guidance
- Royal Horticultural Society: How to grow runner beans
- PROTA / Pl@ntUse: Phaseolus coccineus biology, cultivation and harvest
- North Carolina Extension Gardener Plant Toolbox: Phaseolus coccineus
- Garden Organic: Seed Saving Guideline No. 7, Runner Beans
- US Food and Drug Administration: Natural toxins in food, including bean phytohaemagglutinin