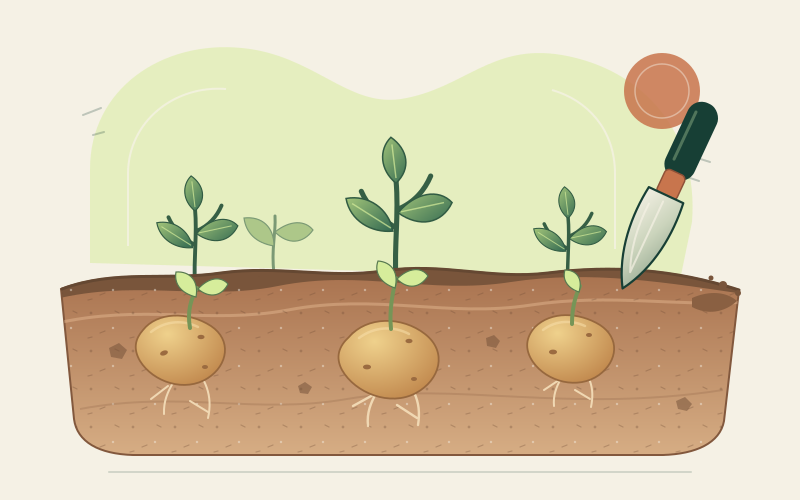
Before you plant
Potatoes are generous plants, but a good crop begins below ground. Choose an open, sunny site and buy certified seed potatoes: these are tubers grown and inspected for planting, not guaranteed disease-free, but a much safer starting point than saved or shop-bought eating potatoes. Certification helps limit viruses and other seed-borne problems. Select the crop group and variety for your climate, cooking plans, and harvest window.
Chitting is optional. To chit, stand tubers in a single layer, with the end carrying most eyes upward, in a cool, bright, frost-free place. Short, sturdy shoots develop over a few weeks. This can bring forward early harvests, but unchitted tubers also grow well. Do not leave either kind in a warm, dark room: long, pale shoots break easily and make a poor start.
Prepare loose, fertile, well-drained soil. Waterlogging starves roots of air and encourages rot, while compacted ground restricts tubers. Work in well-rotted organic matter if the soil needs it, avoiding fresh manure. A soil test is the best guide to nutrients and pH. Potatoes generally suit slightly acidic soil, roughly pH 5.5–6.5; do not make drastic pH changes without a test, especially since many other vegetables prefer less acidic conditions.
Planting to harvest: eight steps
-
Wait for workable soil
Plant when the ground is no longer frozen or saturated and local conditions suit the crop group. Cold, wet soil can rot seed tubers before they emerge. A planting date that works in one valley may be weeks early on a cold, exposed site.
-
Plant at a sensible depth and spacing
Open a trench or individual holes about 10–15 cm deep. Set tubers with the eyes or shoots upward and cover gently. As a starting guide, space early varieties about 30 cm apart with 45–60 cm between rows; allow about 38 cm for maincrop tubers and 75 cm between rows. Your supplier’s advice and local conditions take priority. Wider rows make earthing up easier.
-
Protect young shoots from frost
Potato foliage is frost-tender. If a late frost threatens emerged shoots, draw soil over them temporarily or cover with horticultural fleece, securing it without crushing the stems. Remove fleece when the danger passes. Blackened shoot tips often regrow, but repeated damage costs time.
-
Earth up as stems grow
When shoots are roughly 15–20 cm tall, draw loose soil from between the rows around their bases, leaving the upper leaves exposed. Repeat as needed to build a broad ridge. Earthing up protects developing tubers from light, reduces greening, limits weed competition, and can offer some protection from frost. In containers, add more suitable compost in stages, keeping enough room for watering.
-
Water for steady growth
Aim for evenly moist, not permanently wet, soil. Check below the surface rather than watering by the calendar. Consistent moisture matters especially as tubers begin to form and then bulk up; flowering is a useful clue, though not every variety flowers reliably. Long dry spells followed by heavy watering can contribute to misshapen tubers and growth cracks. Water at the base, and ease off as mature foliage naturally dies back.
-
Keep weeds and problems in view
Hand-weed carefully so you do not spear hidden tubers. A light mulch can suppress weeds and slow evaporation after the soil has warmed. During a regular walk, look under leaves and along stems for eggs, insects, or lesions. Early identification gives you more options; our potato problems guide explains what to do next.
-
Match the harvest to the crop
Earlies are lifted for immediate eating, while maincrop potatoes need time to mature and form firm skins. Instead of relying only on a packet date, loosen one plant and inspect a sample. Use a fork from well outside the plant, working inward gently. Lift on a dry day where possible and handle tubers as if they bruise—because they do.
-
Sort before storing
Separate sound, mature maincrop tubers from those that are cut, deeply damaged, soft, or diseased. Eat minor blemishes first after trimming if the remaining flesh is sound. Do not store wet, muddy potatoes in a heap, and never put suspect rotting tubers into the storage box.
| Crop group | What to look for | Main use |
|---|---|---|
| First early | Young tubers of usable size, often around flowering | Small “new” potatoes; eat soon after lifting |
| Second early | A later young crop; test a root for size and skin | Salad and boiling potatoes; limited storage |
| Maincrop | Foliage dying down and skins that resist a firm thumb rub | Larger harvest for cooking now or curing and storage |
Cure and store the keeping crop
Early potatoes are best treated as a fresh crop. Maincrop tubers intended for storage benefit from a short curing period so minor surface injuries can dry and skins can set. Spread them in a dark, airy, frost-free place for about one to two weeks. Avoid leaving them exposed to light, and do not try to cure tubers with wet rot or deep wounds.
After curing, store only sound potatoes in breathable trays, paper sacks, or hessian. Keep them cool, dark, and well ventilated, with enough humidity to limit shrivelling but no condensation. A suitable shed or cellar may work if it stays frost-free. Check regularly and remove anything soft or mouldy. Avoid sealed plastic, which traps moisture. Follow local food-storage guidance, particularly for refrigerator storage and potatoes intended for high-temperature cooking.
Green tubers, volunteers, and rotation
Green colour develops when tubers are exposed to light. It can accompany increased levels of naturally occurring glycoalkaloids, which cooking does not reliably destroy. Do not eat potatoes that are extensively green, heavily sprouted, shrivelled, or bitter. Keep ridges maintained and stored tubers dark; when in doubt, discard rather than taste.
Where space allows, avoid growing potatoes or other solanaceous crops such as tomatoes in the same ground for at least three years. Rotation helps reduce some soil-borne pest and disease pressures, though it cannot stop wind-blown late blight. Remove volunteer potatoes and rejected tubers so they do not carry problems into the next crop. Save seed only where regulations and local guidance permit, and never from diseased plants; fresh certified seed remains the dependable choice.