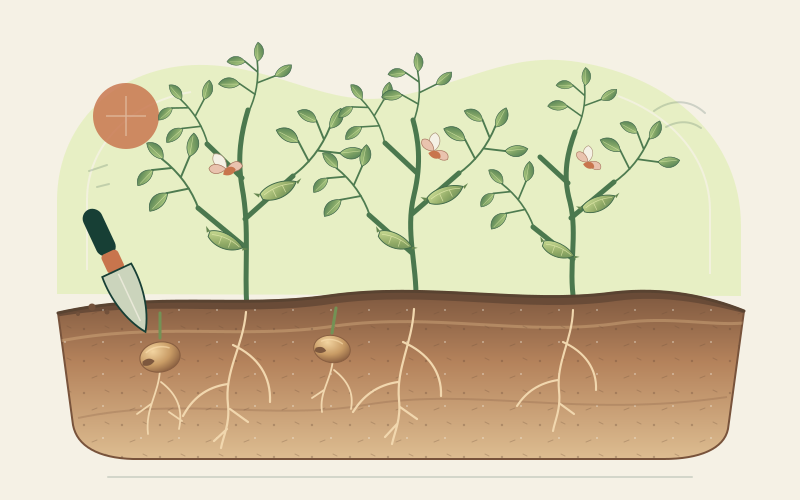
A short, cool-season pulse
The cultivated lentil, Lens culinaris, is a slender annual grown for the seeds in its small pods. Plants are usually low and branching rather than tall vines. They do not need a trellis, although a dense stand or damp, fertile soil may lead to lodging—stems leaning or falling onto the ground. Keep that modest habit in mind when choosing a bed: the lowest pods can be close to the soil.
Lentils grow best in cool conditions and are harmed by waterlogging. They fit the beginning or end of a warm-climate growing season, or spring in colder regions, rather than a universal calendar. A general crop window is 80–110 days from sowing to mature harvest, but cultivar, temperature, elevation, and rainfall can move it considerably. Ask nearby growers which sowing date finishes before local summer heat, drought, or persistent rain.
A garden planting will not behave exactly like a field crop. Hand sowing and harvest make a small trial practical, while yields from a few square metres should be treated as a supplement to stored food rather than a guaranteed staple supply.
Sow directly and keep the bed simple
-
Start with sound, locally suitable seed
Choose seed sold for planting from a reputable supplier, with a named cultivar and local performance information where possible. Dry lentils from a food packet may be old, mixed, treated, or poorly adapted; germination alone does not show that they will mature well or resist local disease. Saving seed from healthy plants can be useful after a successful trial, but some lentil diseases can travel with seed.
-
Find sun and free drainage
Use an open, sunny bed where water does not sit after rain. Loosen compaction when the soil is dry enough to crumble, not smear. Raised beds can help on ground that drains slowly, but no bed shape makes chronically saturated soil suitable. Mature compost can improve structure where a soil test or experience indicates a need; lentils do not require heavily enriched ground.
-
Sow into cool, workable soil
Direct sow at the beginning of the locally recommended cool-season window. Lentil seed can germinate in cool soil, but cold, wet conditions also favour rot and slow establishment. Follow the packet for depth and spacing; roughly 2–4 cm deep is a common starting point, with rows close enough for a small canopy but accessible for weeding and inspection. Firm the seedbed gently and water only if the soil is dry.
-
Keep fertility modest
Avoid fresh manure and heavy nitrogen applications. Excess nitrogen can encourage soft, leafy growth and lodging instead of a well-timed seed harvest. Like other legumes, lentils can associate with nitrogen-fixing bacteria in root nodules when compatible organisms are present. A lentil-specific inoculant may be suggested on land new to the crop; use only a fresh product labelled for lentils and follow its directions. It is not a substitute for suitable soil, seed, or weather.
-
Water to establish, not to soak
Keep the seed zone lightly moist until emergence, then water according to rainfall and the moisture below the surface. Lentils do not need a constantly wet bed. Direct any necessary irrigation to the soil and allow the canopy to dry. Weed while plants are young, taking care around shallow roots and fragile stems. A thin mulch between rows can limit soil splash, but keep wet material from packing around the stems.
Make disease prevention part of the plan
Healthy, locally adapted seed and a suitable sowing date are the first safeguards. Rotate away from lentils and closely related pulses where space permits, clear heavily infected residue according to local guidance, and avoid working among wet plants. Aphids and other insects can damage growth or transmit viruses in some districts; fungal and bacterial problems can cause spots, dieback, rot, or a collapsing canopy. Similar symptoms can have different causes.
Check both leaf surfaces, stems, and low pods regularly. Remove a small badly affected plant if local advice supports doing so, and do not save its seed. For spreading disease or uncertain symptoms, seek identification from a local extension or plant clinic rather than treating by colour alone. Resistance is specific to the problem and sometimes the pathogen strain named by the supplier; it never means immunity to every disease.
Harvest before rain undoes the drying
Lentils are ready for a dry-seed harvest when the plants have yellowed, the lower pods are mature and dry, and the seeds inside are firm. Pods can shatter as they dry, so inspect the lowest ones rather than waiting for every stem to look identical. Cut or pull plants on a dry day, handling them gently to retain the seed. A tarpaulin or clean sheet beneath the work catches loose lentils.
| Stage | What to look for | Small-scale action |
|---|---|---|
| Approaching maturity | Foliage yellows; seeds fill the pods | Protect from birds and check low pods often |
| Dry harvest | Pods are dry and seeds are hard | Cut or pull gently on a dry day |
| Damp interruption | Mature plants or pods become rain-wet | Spread thinly under ventilated cover |
| Storage | Shelled seeds are thoroughly dry and clean | Seal, label, and inspect regularly |
If rain arrives near maturity, move cut plants or picked pods under cover promptly. Spread them in a thin layer on racks, screens, or breathable sacks with air moving around them; a deep heap can trap moisture and heat. Turn the material gently until pods are brittle, then thresh by rubbing or treading carefully inside a clean sheet. Winnow away light chaff in a safe, gentle breeze or with a low fan, keeping dust away from your face.
Sort out stones, damaged seed, mouldy material, and anything doubtful. Finish drying the cleaned lentils before sealing them: a hard seed and a rattling pod are useful clues, but not a measured moisture test. For a meaningful food store, use locally recommended moisture-testing or drying guidance. Keep thoroughly dry lentils in clean, food-safe airtight containers in a cool, dark, dry place. Label the cultivar and year, and check for condensation, insects, odour, or mould before use. Drying is not cooking; follow the safe preparation steps before eating.