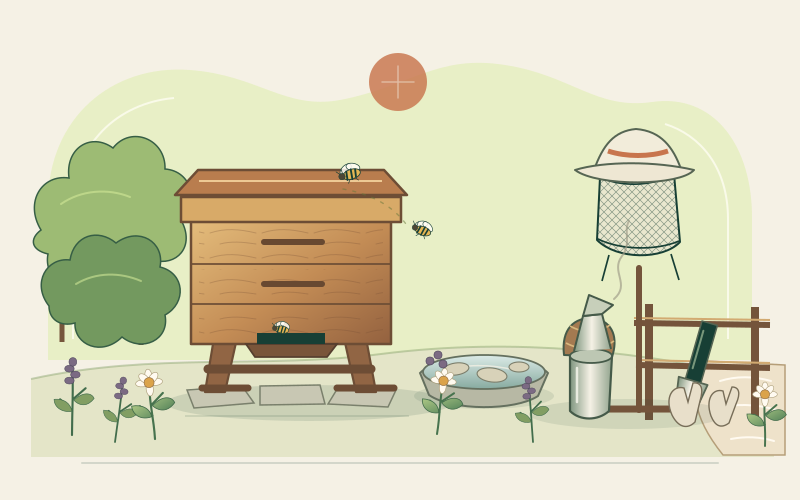
First-year preparation
Start beekeeping with skills before supplies
Find training and a mentor, check law and neighbours, budget for continuing care, and choose protective equipment and a healthy local nuc.
Read the starting guideRooted field guide · Managed livestock
Honey bees are managed livestock, not self-managing pollination decoration. Responsible beekeeping requires practical training, legal compliance, year-round animal care, and a plan for stings before the first hive arrives.
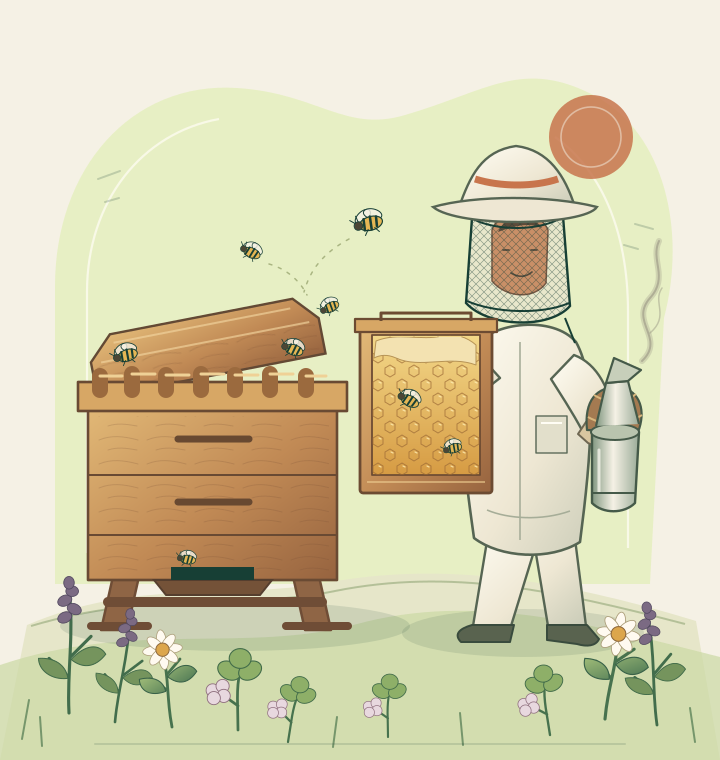
Read this before visiting an apiary
Protective clothing reduces risk; it does not make stings impossible. Anyone with a known serious sting allergy should seek personal medical advice before taking part in beekeeping.
Tell a mentor about relevant allergies or health conditions before handling bees. Ask visitors about their own medical guidance rather than promising that a colony is gentle. Keep children, pets and unnecessary observers away from inspections, and never work beyond your training or physical ability.
Keep a charged phone, the apiary’s exact location, first-aid supplies and any prescribed emergency medication accessible. Breathing difficulty, tongue or throat swelling, dizziness or fainting after a sting can signal a severe allergic reaction: use prescribed adrenaline according to the person’s emergency plan and call the local emergency number immediately. Arrange competent help rather than leaving the person alone.
No honey in any form before 12 months of age. This includes raw or processed honey and honey added to food, drinks or a pacifier. Honey can contain spores associated with infant botulism; careful extraction does not remove that risk. Share this warning with anyone receiving a jar.
Before the bees arrive
Six preparations belong together. Local rules, climate, hive system and available support determine the details.
Take a reputable beginner course with supervised practical sessions. Learn colony anatomy, calm handling, swarm management, food assessment, and pest and disease recognition in your climate. Find a local mentor before problems become emergencies, agree when to call, and arrange competent cover when you are away. Visit through more than one season if possible.
Ask the relevant council, landlord, agricultural or animal-health authority about registration, permitted locations, hive numbers, setbacks, water, nuisance rules and inspections. Rules for moving or importing bees can be separate from rules for keeping them. Honey distribution may add food-business, hygiene and labelling duties. Never assume an allotment, rural plot or roof is automatically allowed.
Look for firm, drained ground, safe access and enough working room. Assess varied nectar and pollen across the year, clean water, pesticide exposure, nearby apiaries and periods of scarcity. A spectacular spring bloom says little about summer or autumn forage. Do not buy more colonies than you can inspect or the local landscape can reasonably support.
Build a local written budget for training, bees, a complete compatible hive and stand, protective clothing, tools, health monitoring, replacement parts, feeding during shortages and food-safe harvesting containers. Include travel, cleaning, record-keeping and possible disease testing or disposal. Borrowing an extractor through an association may be more sensible than buying one immediately.
Use a secure, well-fitting veil and protective clothing, gloves and suitable footwear that allow unhurried work. Practise with a hive tool and smoker under supervision; follow fire-safety rules whenever using a smoker. Assemble a sound hive, frames, covers and stable stand before collection day. Have used woodwork or comb assessed by an experienced local beekeeper because it can carry pests or pathogens.
A small established nucleus colony, or nuc, normally contains a laying queen, workers, brood and food on frames. Buy from a reputable local supplier who follows health and movement rules. Ask about origin, queen, inspection history, temperament and suitability for regional seasons. Locally raised does not guarantee disease-free or gentle stock, and bees of unknown health are not a bargain simply because they are free.
A considerate working landscape
Good placement reduces avoidable conflict and makes regular care possible. Local advice should determine orientation, shade, wind protection and spacing; no universal compass direction suits every climate.
Keep entrances away from busy paths, doors, washing lines, play areas and boundaries where routine activity could cause conflict. Speak with nearby residents early and listen to concerns about stings, pets, children and garden use. A screen, hedge or fence can direct departing bees above head height where local advice recommends one, without blocking access or creating a damp, airless corner.
Maintain a reliable, clean water source with a way for bees to reach it without drowning, following local practice. Establish it before bees form a habit of visiting a neighbour’s pond, tap or animal drinker. Keep the source free of pesticides, feed and honey spills, and include its upkeep in routine apiary visits.
Use stable, level stands on firm, drained ground, with space to lift frames and boxes safely behind and beside each hive. Secure equipment against local wind and animals without obstructing ventilation or inspection. Avoid flood-prone ground and routes shared with machinery or livestock. Mark colonies discreetly so each record belongs to the right hive.
Bees need access to varied nectar and pollen, not simply a hive surrounded by decorative flowers. Consider seasonal gaps, neighbouring apiaries and wild pollinators before expanding. Protect and improve suitable habitat, but do not claim that added hives automatically increase forage or benefit every pollinator. There is no universal safe number of hives per hectare.
A year-round responsibility
A busy entrance does not prove that a colony is queenright, well fed or free of pests. Open a hive only when weather, colony condition and a clear purpose suit the work; neither rigid disturbance nor neglect is good care.
Make frequent, purposeful inspections at intervals taught for your climate and colony stage. Check queen status, brood, food, available space, temperament, pests and disease signs. Learn timely swarm-management methods rather than assuming that a swarm will take care of itself. Close every hive securely.
Recheck accessible stores as flowering and weather change. Work calmly, cover exposed honey and feed, and avoid spills that encourage robbing. Monitor varroa with a locally validated method and use current regional advice to decide what action is needed. Take honey only after the colony’s needs are secured.
Assess colony condition, health and accessible stores using local reserve guidance for your hive type and winter or dearth. Provide appropriate space, weather protection and ventilation, and follow locally recommended feeding where genuinely needed. Prepare spare equipment before the next expansion period.
Use locally taught checks that avoid unnecessary chilling or disturbance. Ensure the colony can reach food, watch for damage or blocked entrances, and arrange prompt help when conditions change. As foraging resumes, reassess food, space, queen status and health rather than treating survival through winter as the whole job.
Keep one record per colony: date and weather, queen and brood observations, stores and space, varroa method and result, disease signs, actions taken and the next concern. Consistent notes help a mentor or inspector interpret change; counts from different monitoring methods or seasons are not automatically interchangeable.
Integrated colony care
Integrated management combines observation, suitable husbandry and legally authorised controls selected for local circumstances. This guide gives no treatment doses: use the current approved product label and local expert direction, and never improvise with agricultural chemicals or home mixtures.
Varroa destructor mites can weaken bees and are associated with damaging viruses. Learn a validated monitoring method from a local trainer, perform it consistently and record colony, date, method, sample size where relevant and result. Use current local action thresholds rather than a universal number. Where intervention is needed, account for season, colony condition, temperature, honey supers, resistance and label restrictions.
Learn what healthy brood looks like at each stage. Discoloured larvae, perforated cappings, an uneven pattern or an unpleasant smell can have overlapping causes, so appearance or smell alone cannot name a disease. For suspicious brood, stop moving bees, frames and equipment between colonies, follow local robbing precautions, clean hands and tools, and contact the bee inspector or animal-health authority. Some diseases must be reported by law.
Buy traceable stock, comply with movement rules and follow local guidance for new colonies. Avoid casually swapping brood or food frames. Clean tools, gloves and equipment between apiaries using methods suited to the material and disease risk; ordinary washing is not a universal disinfectant. Cover honey and feed during shortages, and dispose of suspect comb or other material as official guidance requires.
Do not spray insecticides on plants visited by bees, and never use a product contrary to its label. Learn local flowering and foraging times, avoid drift and contaminated water, and communicate with nearby growers where local systems allow. “Natural” and homemade pesticides can still harm bees. Record suspected poisoning and contact the appropriate authority rather than guessing the chemical from dead bees alone.
Honey is the colony’s food. Assess accessible stores before winter or a predictable shortage using the method taught for your region, colony population and hive system. A full-looking box is not a precise food measurement. Use locally recommended supplementary feeding when genuinely needed, avoid unnecessary chilling, and keep feed intended for colony support separate from honey intended for people.
From genuine surplus to labelled jar
A first-year or small colony may have no safe surplus. The right harvest can be none at all.
Assess brood, colony size, current nectar flow and the food needed for the coming dearth or winter. Requirements vary with climate, hive configuration and forage, so learn local reserve targets instead of copying a single weight. Take only clearly excess combs from the harvest part of your management system, then recheck what remains.
Prepare a clean, dry, covered work area and food-grade tools and containers. Keep out insects, pets, dust and household chemicals. Clear bees gently using a locally accepted method, keep brood combs out of the harvest, uncap and extract with suitable equipment, then strain and let the covered batch settle. Secure cappings against robbing, and never bottle honey contaminated by unauthorised treatments, fuel, mould, rodents or other foreign material.
Wax cappings are a useful sign, but one frame does not establish the moisture of a whole batch. Inspect representative combs and use a properly calibrated honey refractometer where available, interpreting readings against local legal and quality standards. Excess moisture can permit fermentation. Keep honey dry and covered; crystallisation is different and does not by itself mean spoilage.
Check food-business registration, hygiene, traceability, weights and labelling duties before giving away or selling jars. Use clean, dry, food-grade containers and record the batch and extraction date. Labels commonly need an accurate food name and net quantity, with other particulars set locally. Support floral or geographic descriptions, follow rules for terms such as “raw” or “organic”, and make no medicinal claims. Include the under-12-month warning where required.
Managed livestock and wild biodiversity
Bumble bees, solitary bees, butterflies, flies and other pollinators have their own food, nesting and refuge needs. Adding a managed honey bee colony does not replace those habitats or guarantee better crop pollination.
Support a succession of diverse nectar- and pollen-rich plants, reduce harmful pesticide exposure and retain suitable nesting places such as undisturbed ground or dead stems where local ecology guidance recommends them. Do not disturb wild nests. Habitat care benefits a wider community than the colonies you own.
A strong honey bee colony contains many foragers; where nectar or pollen is limited, dense apiaries can increase competition with wild species. Risk depends on landscape and season, not a universal stocking ratio. Assess surrounding forage with local beekeeping, conservation or ecological expertise, especially near vulnerable habitats, and keep only the colonies you can manage responsibly.
From the field journal
Three practical guides for the work before the first colony, the decisions behind a honey harvest and the health routine in between.
First-year preparation
Find training and a mentor, check law and neighbours, budget for continuing care, and choose protective equipment and a healthy local nuc.
Read the starting guide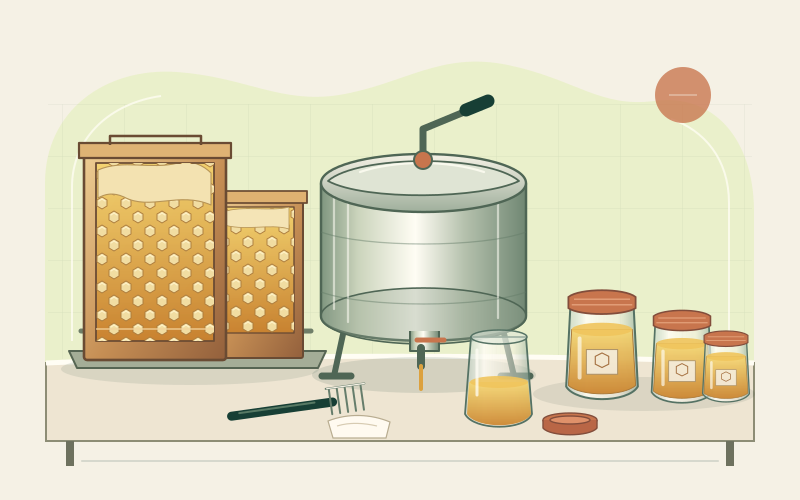
Harvest and food handling
Leave adequate stores, extract and separate wax cleanly, manage moisture and label the food accurately.
Read the honey harvest guide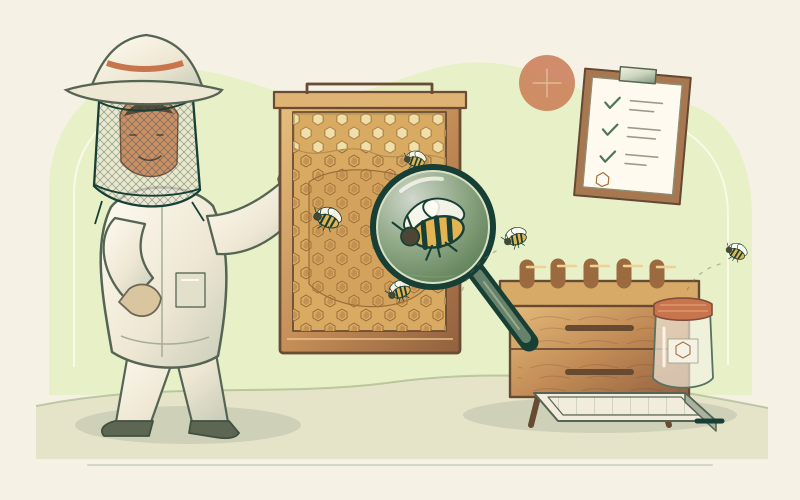
Year-round colony care
Monitor varroa, recognise brood problems, practise biosecurity, reduce pesticide exposure and leave room for wild pollinators.
Read the bee health guideThe colony’s needs come first
Start with supervised handling, a lawful site and one manageable colony. Keep records, plan food and health care across the seasons, and let a genuine surplus—not a target yield—decide whether there is honey to harvest.
Open the starting guide