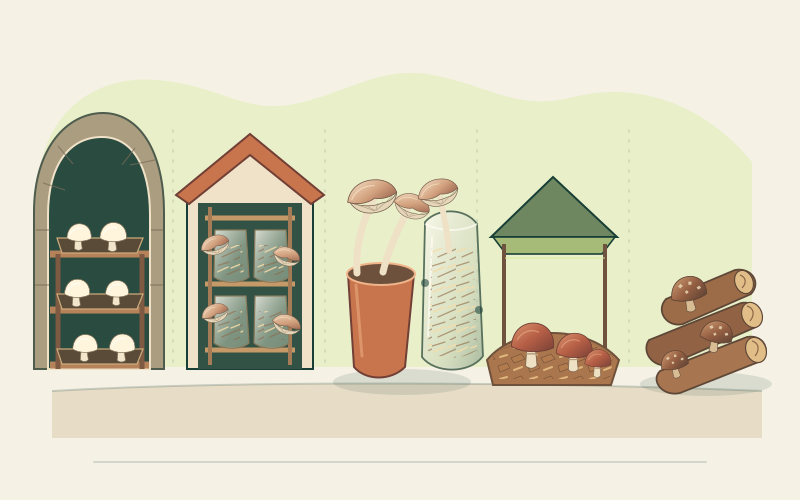
Start with the crop cycle, not an empty corner
Mushroom cultivation includes at least two different environments: substrate colonization and mushroom fruiting. A clean, temperate storage area may suit sealed or filter-protected containers while mycelium spreads. Fruiting containers then need species-appropriate fresh air, humidity, and indirect light. Moving a crop between stages can be more practical than forcing one room to do everything.
Scale matters as much as floor area. One oyster kit is easy to observe and remove if something goes wrong; shelves of producing buckets create moisture, spores, cleaning water, and repeated lifting. Keep cultivation separate from bedrooms, sitting rooms, kitchens, and other ordinary living space. Do not use living spaces for heavy production. A small kit in a suitable utility area is a different proposition from a humidified room full of fruiting blocks.
Before choosing any space, plan access, drainage, cleaning, safe electricity, and disposal of spent or contaminated substrate. Use smooth, sound, cleanable surfaces around indoor crops, and leave enough room to inspect every side. Never block an exit, ventilation opening, electrical panel, or appliance service clearance.
A cellar: useful only after a building check
A cellar may buffer temperature and provide room for colonizing containers or a modest fruiting setup, but darkness and dampness are not sufficient qualifications. First check that the structure is dry and sound. Find and repair water entry rather than adding more humidity to an existing leak. Persistent condensation, crumbling masonry, timber decay, or established mould makes the building problem the priority, not the mushroom crop.
Test for radon before spending regular time in a basement or cellar. Radon is invisible and odourless, and testing is the only way to establish its level. Follow local testing and remediation guidance; mushroom ventilation is not a substitute for a properly designed radon-control system. Make sure any fresh-air supply and exhaust provide genuine air exchange rather than simply recirculating stale, humid air.
Keep batches off the floor on stable, cleanable shelving, with no shelf or aisle overloaded. A humidifier should not wet walls or electrics. Use a properly installed protected circuit suitable for the damp location, and have a qualified electrician assess the setup. Keep cables and connections out of splash and standing water; never improvise with damaged extension leads.
A dedicated shed or fruiting room: control without contamination
A separate shed offers separation from the home and room for a washable work zone, but an uninsulated structure may overheat, freeze, or leak. Check the roof, floor, walls, and door before installing equipment. Insulation and vapour control need to suit the building; lining a damp shed with plastic can trap moisture and hidden decay. If in doubt, seek building advice before creating a permanently humid room.
Arrange a clean route for prepared substrate and a separate route for harvested mushrooms and outgoing waste. Avoid storing dusty straw beside ready-to-fruit blocks. Shelving should carry the full weight of wet substrate with a sensible margin, and trays need support that will not sag. Provide drainage without letting waste water pool beneath the crop.
Ventilation should remove excess humidity and spores to a safe outdoor location, not blow them into a neighbouring room or an occupied doorway. Gentle humidification and indirect light complete the fruiting setup; exact airflow, humidity, and temperature depend on the species. Heaters, humidifiers, fans, and lights increase electrical and fire load. Use suitable fixed equipment, maintain clearances from combustible material, and do not leave improvised heaters running unattended. A small, monitored room is safer than an overcrowded one.
Buckets, bags, and trays: the container is part of the method
Containers make small batches manageable, but their openings, filters, drainage, and substrate preparation must work together. Use sound, clean containers made for the intended contact with food crops and heat process. Random household tubs can be difficult to clean or seal appropriately.
| Container | Good match | Setup and maintenance |
|---|---|---|
| Perforated bucket | Oyster spawn in suitably prepared straw or another approved substrate | Use a lid and openings designed for the method; support the bucket and wipe up leaks |
| Filter-patch bag | Oyster substrates or professionally prepared shiitake sawdust blocks | Keep the filter intact during colonization; change exposure only when fruiting begins |
| Tray or bed box | Button mushrooms in prepared compost with casing, or a small wine-cap setup | Use the correct depth and casing protocol; provide stable support and drainage |
Label every batch with species, substrate, inoculation date, and any supplier batch code. During colonization, inspect from outside rather than repeatedly opening the container. At fruiting, check pins, free moisture, airflow, and harvest maturity regularly. Remove spent blocks and failures promptly, then wash and dry reusable items before the next cycle.
An outdoor wine-cap bed: seasonal and easy to expand slowly
Wine cap is a strong match for a hardwood-chip bed in a garden or other uncontaminated outdoor site. Choose a shaded or partly shaded position that can be watered without becoming waterlogged. Use clean hardwood chips from a known source, not treated, painted, or contaminated wood. Prepare the bed and layer in wine-cap spawn at the supplier’s rate during suitable weather.
Water when the chips begin to dry, especially during establishment, but do not keep the bed saturated. Mark the bed and retain the label so later harvests remain connected to the known inoculation. Fruiting depends on colonization and season; a bed can produce in flushes rather than on a weekly schedule. Refresh chips only as the species guidance recommends, and start a new small bed rather than endlessly enlarging one that has not performed.
Shiitake and oyster logs: allow room for months of waiting
Log cultivation needs fresh, sound wood of a tree species recommended for the mushroom strain. Shiitake has well-established matches including oak and several other hardwoods; oyster strains have their own, often different, wood preferences. Do not substitute a convenient fallen branch that is old, already decaying, or from an unsuitable tree.
Follow the supplier’s timing for cutting, resting, drilling, inoculating, and sealing. Use plug or sawdust spawn made for logs and the specified food-safe sealing material. Move logs with safe lifting technique and stack them securely in shade, with the recommended contact or separation from soil. The stack must not topple into a path or trap water against a building.
During the long colonization period, monitor moisture and protect the logs from drying sun and wind. Fruiting may follow seasonal cues or a species-specific soaking and rest routine. Keep records by log group so that a slow first year is not mistaken for failure. Outdoor production still requires clean harvest containers and prompt refrigeration.
Control spores and mould at their source
Mature mushrooms release spores, and contaminated cultures can add mould particles to the air. Harvest before heavy spore release, ventilate fruiting spaces, and avoid spending unnecessary time among large fruiting batches. Do not direct exhaust into living areas. Keep the door to a dedicated fruiting room closed where that helps contain the production zone.
Respiratory protection may be appropriate for some tasks, but it must be suitable, well fitted, and used alongside source control and ventilation; a loose dust mask does not make a heavy-production bedroom acceptable. Anyone experiencing coughing, wheezing, or chest tightness should leave the exposure and seek appropriate advice rather than continuing to work through symptoms.
Bag a contaminated culture before moving it through a clean area, and never shake or dry-scrape visible mould into the air. Clean washable surfaces and let them dry. Fix recurring condensation rather than relying on repeated mould removal. A failed crop is disposable; the building and the people using it are not.
Sources and safety references
- Cornell Small Farms Program: Indoor and outdoor mushroom cultivation
- Cornell Small Farms Program: Outdoor logs, stumps, and wood-chip beds
- UK Health and Safety Executive: Controlling exposure to dust and bioaerosols on mushroom farms
- US Centers for Disease Control and Prevention: Testing your home for radon
- US Centers for Disease Control and Prevention: Mould, dampness, and health