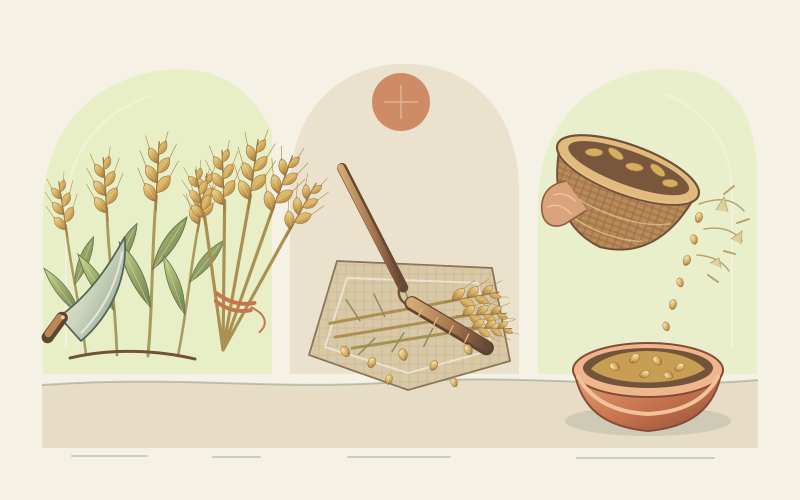
Choose the growth habit before choosing a date
Common or bread wheat, Triticum aestivum, is an annual cereal that forms tillers—additional shoots from the base—and finishes with grain-bearing spikes. It is not a perennial pasture grass. A small bed can supply grain for a household trial, but hand harvest and cleaning take time, so begin with an area you can manage rather than expecting a few square metres to fill a year’s flour bin.
Spring wheat is sown at the locally recommended start of spring growth and harvested later that season. It does not need winter cold to initiate normal heading. Winter wheat is sown in autumn, establishes before winter, and normally needs a period of cold, called vernalisation, to head properly. Autumn sowing is therefore not simply an earlier version of spring sowing. Local winter survival, snow cover, rainfall, and day length all affect the result.
Rooted uses 90–300 days as a broad sowing-to-harvest range spanning different habits and climates, not a cultivar promise. Spring types often occupy the shorter part of that range; overwintered crops occupy much longer. Use a named, locally adapted cultivar and the regional sowing window. A spring cultivar planted in autumn may be killed or fail to behave as intended, while an unverified winter type sown in spring may remain vegetative.
Calculate the sowing and keep the canopy moderate
-
Buy sound planting seed
Choose seed sold for planting, with its species, cultivar, growth habit, germination, and any treatment identified. Grain from a food bin may be old, mixed, heat-damaged, or poorly adapted, and a sprouting test says nothing about local disease resistance. Follow the supplier’s guidance for treated seed: do not use it for food or feed, and use the specified handling protection.
-
Prepare sun, drainage, and a fine seedbed
Select an open, sunny bed where water does not remain after rain. Relieve compaction when soil is moist enough to crumble rather than smear, and remove persistent perennial weeds before sowing. Wheat tolerates a range of soils but not prolonged waterlogging. Raised beds can improve a slow-draining garden site; they do not cure a continuously saturated hollow. Rotate away from recent cereal crops where local disease advice recommends it.
-
Calculate seed per square metre
A reasonable small-plot starting target is roughly 250–300 established plants per m² for spring wheat or 220–250 per m² for winter wheat, then adjusted to local recommendations. Use the packet’s thousand-kernel weight and realistic field emergence rather than a universal scoop: seed grams per m² = target plants × thousand-kernel weight ÷ (1,000 × emergence fraction). For example, 275 plants, 35 g per thousand seeds, and 0.80 emergence require about 12 g/m². Increase for difficult seedbeds only with local guidance; excessive density can worsen competition and lodging.
-
Sow evenly at a modest depth
As a general starting point, sow about 2–4 cm deep, into moisture but not sticky soil, and firm gently for seed-to-soil contact. Rows roughly 12–20 cm apart make hoeing and inspection possible. Broadcasting also works in a small bed if seed is distributed evenly and lightly incorporated; divide seed and bed into portions to avoid bare patches and crowded corners. Packet depth and regional dry-soil guidance take priority.
-
Use nitrogen modestly
Start with a soil test and local nutrient guidance rather than routine rich feeding. Too much available nitrogen, especially with dense growth and ample water, encourages lush stems that can lodge—lean or fall over—making harvest slower and grain harder to dry. Avoid fresh manure and heavy late applications. Do not starve a deficient crop either: nutrient needs depend on soil, previous crops, rainfall, and the cultivar.
Water when necessary to establish the crop and support dry spells, while allowing excess to drain. Avoid keeping foliage wet into humid evenings. Wheat is a dryland crop in many regions, but drought tolerance at one stage does not mean seedlings, flowering plants, and filling grain never suffer from water shortage.
Observe weeds, birds, and disease through the season
Weed while wheat is young and before weeds set seed, taking care not to uproot tillers. Once the canopy closes, access becomes harder. Walk the bed regularly, looking at the lower leaves as well as the newest growth. Yellowing, pustules, white powdery growth, distorted heads, or premature bleaching have several possible causes; appearance alone is not a diagnosis.
Rusts, powdery mildew, root rots, and head diseases vary by district and weather. Wet conditions around flowering can favour Fusarium head blight in susceptible crops. Dark, hard ergot bodies replacing grain are especially important: do not eat, feed, mill, or save grain contaminated with ergot. Keep suspect material out of the food batch and seek local disposal and identification advice. Clean seed, rotation, resistant cultivars, and suitable sowing dates reduce some risks but do not replace regional disease guidance.
Birds may pull newly sown seed or feed heavily as grain ripens. Watch actual pressure before intervening. Secure lightweight netting above the crop without trapping birds, check it frequently, and remove it before harvest. Reflective devices often lose effect as animals habituate. Keep the bed free of spilled grain and use only wildlife controls permitted locally.
Harvest, dry, thresh, and winnow in stages
| Stage | What to check | Action |
|---|---|---|
| Ripening | Heads and stems yellow; kernels change from soft and milky to firm | Watch birds and weather; do not judge by date alone |
| Cutting | Kernels are hard and mature; plants are surface-dry | Cut on a dry day and catch shattered heads on a clean sheet |
| Drying | Cut heads or sheaves have no damp, warm centre | Spread thinly or hang loosely with strong airflow under cover |
| Cleaning | Kernels separate from chaff and awns | Thresh gently, winnow, sieve, and remove stones or damaged grain |
Cut stems with clean hand tools when the grain is mature and the crop is dry. Small bundles can finish drying under a roof with excellent ventilation, but do not stack damp sheaves into a warm heap. Prolonged rain can sprout, stain, or mould mature grain. Thresh only when heads release kernels readily: rub them over a clean screen or place them in a sturdy clean sack and beat or tread gently without driving stones into the grain.
Winnow by pouring slowly between containers in a gentle cross-breeze or in front of a low fan. Heavier kernels fall close while lighter chaff moves away; repeat with sieves and hand-sorting. Work outdoors or with suitable ventilation, avoid breathing dust, and use appropriate eye and respiratory protection for the conditions. A low fan must have a guarded intake and stable position.
Local equipment safety comes before speed. Keep children and bystanders clear, tie back loose clothing and hair, disconnect powered equipment before clearing a blockage, and never bypass guards or reach into moving threshers and mills. Do not improvise with equipment whose manufacturer prohibits grain or dry processing. Remove stones before milling to prevent damage and sparks, and control grain dust around ignition sources.
Measure dryness before relying on storage
Hard kernels and audible rattling are clues, not a moisture measurement. Extension guidance commonly uses about 13–14% grain moisture for safe wheat storage, with around 13% or less for longer storage; temperature, storage length, and local recommendations matter. For a meaningful food store, use a suitable grain moisture meter or local testing service rather than guessing. Damp grain can heat and support mould even inside a sealed container.
Once demonstrably dry and cool, pack clean grain into food-safe airtight containers, label cultivar and year, and keep it in a cool, dark, dry place. Inspect for condensation, insects, heating, odour, and mould. Discard doubtful grain rather than assuming cooking will make it safe. Keep planting seed separate from the food jar and retain its identity and germination information. Cook home-grown wheat thoroughly before eating; the kitchen guide explains the cooked basis.
Sources and further guidance
- University of Minnesota Extension: Seeding rate for small grains
- University of Minnesota Extension: Winter wheat seeding rate and depth
- University of Minnesota Extension: Drying wheat and barley
- University of Minnesota Extension: Storing wheat and barley
- Colorado State University Extension: Growing wheat in your home garden