Choose the harvest before sowing
Corn, also called maize, is the annual grass Zea mays. Sweet corn is picked immature, when kernels are tender and their juice is milky. Field or dry corn—including dent, flint, flour and popcorn types—is allowed to mature into hard grain for milling, hominy, popping or other uses. “Field corn” describes a use and harvest stage, not one universal variety. The kernel-type guide explains those choices.
Rooted uses an indicative 70–150 days from sowing to harvest. Early sweet cultivars may fall near the short end; full-season grain types and cool conditions can take longer. Drying harvested grain to a safe storage condition is additional work, not necessarily included in the packet’s days. Count the frost-free season you actually have and leave margin for autumn weather.
Corn needs full sun, warmth and enough room for several plants. It is frost-tender and grows poorly in cold soil. A little shelter from damaging wind is useful, but a solid wall that leaves foliage still and damp is not essential. Avoid a site where tall plants will shade every shorter crop.
Sow directly and build a pollination-friendly block
-
Wait for a warm, workable seedbed
Direct sow after local frost danger has passed, when soil has warmed and does not smear into wet clods. Many sweet corns establish best around 16°C or warmer; supersweet types often need still warmer soil and particular attention to the packet. A warm afternoon is not enough if cold rain is forecast. In a short season, use an early cultivar rather than rushing seed into cold ground.
-
Plant a block, not one long row
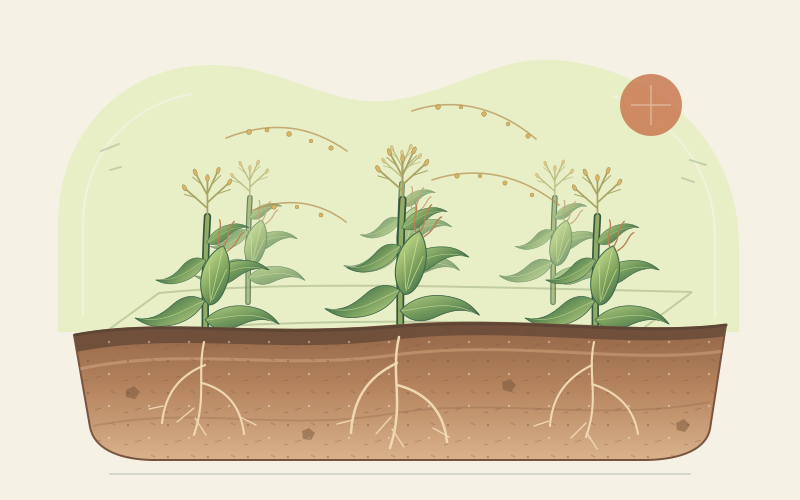
Corn is wind pollinated. Pollen from the tassel at the top must reach the silks emerging from each potential ear; each silk connects to one potential kernel. Several short rows in a roughly square block give pollen a better chance of landing on neighbouring silks than a single row. Extension guidance commonly recommends at least four rows. Sparse planting, hot dry weather or emergence gaps can leave missing kernels.
-
Use the cultivar’s depth and spacing
A common starting depth is roughly 2.5–4 cm, with plants thinned to about 20–30 cm apart within rows and wider access between rows. Large grain types, small garden cultivars and local systems differ, so follow the supplier’s spacing. Sow a few extra seeds for gaps, then thin crowded seedlings rather than expecting lush leaves to compensate for competition. Keep the seed zone moist but not saturated until emergence.
-
Plan succession and crossing carefully
Small blocks sown a week or two apart can spread a sweet-corn harvest where the season permits. Different corn types freely cross-pollinate. Pollen from field corn can make standard sweet kernels starchy, and some supersweet cultivars have stricter isolation needs; crossing can also harm popping quality. Read the packet’s isolation instructions and use suitable separation in time, distance or both with local advice. Blocks still need to be large enough when separated.
-
Feed according to soil and growth
Corn has a substantial nitrogen demand, but more is not automatically better. Start with a soil test and local recommendations. Mature compost can support soil structure, yet its available nitrogen varies and should not be treated as an exact fertiliser calculation. Excess nitrogen wastes resources, can delay maturity and increases the risk of nutrient loss to water. If supplemental nitrogen is recommended, time it to active growth and follow the measured local rate rather than an improvised dose.
-
Weed shallowly and water the root zone
Control weeds while they are small, taking care not to cut shallow roots with deep hoeing. Water according to soil moisture and weather, not a fixed calendar. Consistent moisture is especially important just before tasselling, through silking and during ear filling; severe stress then can reduce pollination and kernel fill. Water deeply at the soil surface, avoid prolonged saturation, and mulch once soil is warm to moderate evaporation without piling material against stems.
Use local prevention before reaching for a treatment
Buy sound seed, choose cultivars with resistance to locally important diseases and rotate away from corn where practical. Rotation helps with some residue- or soil-associated problems but does not stop airborne spores or mobile insects. Remove or incorporate heavily diseased residue only as local guidance recommends, and avoid working among wet plants. Balanced nutrition, uncrowded roots and appropriate watering reduce stress without making plants immune.
Seedling cuts may indicate cutworms; ragged leaves, tassel damage or frass can indicate caterpillars; and ear tips may attract corn earworm. Birds sometimes pull seedlings or tear husks, while rodents and raccoons can raid ripening ears. Inspect regularly and identify the organism before acting. Early insect-proof covers can exclude some pests but must be removed before flowering so wind pollination can occur. Secure netting or other physical protection against birds only where it will not trap wildlife, and check it often.
Rusts, leaf spots, stalk rots and smuts vary by region and weather. A resistant cultivar applies only to the named problem. Remove a small, clearly identified localised infection when extension advice supports it, but do not consume mouldy ears or assume every unusual growth is edible. For spreading damage, seek a local diagnosis. If a legally available pesticide is justified, its label must cover the crop, pest and setting; follow that label and local guidance rather than improvised mixtures or doses.
Harvest sweet and dry corn by different signals
| Crop | Ready when | Next step |
|---|---|---|
| Sweet corn | Silks are browning; filled kernels release milky juice | Cool quickly, refrigerate and use promptly |
| Dry grain corn | Kernels are hard and mature; husks are drying | Bring under cover, finish drying and store sound grain |
| Popcorn | Mature kernels are dry but retain suitable popping moisture | Test a small sample and condition gradually |
For sweet corn, check after silks have turned brown and dry and the ear feels filled through its husk. Open a small section on a sample ear rather than stripping every ear. Kernels should be plump and release a milky liquid when punctured; watery liquid is too early and a doughy interior is late. Twist and pull the ear downward. Harvest close to use, cool promptly and refrigerate with husks intact where practical. Standard sweet types lose sweetness faster than supersweet types, but all benefit from rapid cooling.
Freeze or can surplus sweet corn only with a current, tested preservation method and the specified preparation. Plain corn is a low-acid food: home canning requires the pressure-canning process specified by a reliable food-preservation authority, not an improvised water-bath method. Refrigerate cooked corn and mixed dishes promptly.
For dry corn, let kernels mature fully and husks dry as far as local weather safely allows. Bring ears under cover before prolonged wet weather, damaging frost or wildlife causes losses. Remove or fold back husks and spread ears with good airflow until kernels shell readily and are thoroughly dry. Store clean, sound grain in food-safe airtight containers in a cool, dark, dry place; label the type and year and inspect for insects or condensation. Hardness alone is not a precise moisture measurement for bulk storage.
Popcorn needs a narrow suitable moisture range: too wet can spoil, while overdrying can reduce expansion. Dry gradually, test a small popping sample and follow type-specific conditioning guidance. For every dry type, discard mouldy, musty, abnormally discoloured or doubtful grain rather than tasting it or mixing it into the store. Drying does not make contaminated grain safe.
Sources and further guidance
- University of Minnesota Extension: Growing sweet corn in home gardens
- University of Minnesota Extension: Growing popcorn in home gardens
- New Mexico State University Extension: Specialty corns
- Royal Horticultural Society: How to grow sweetcorn
- National Center for Home Food Preservation: Freezing corn